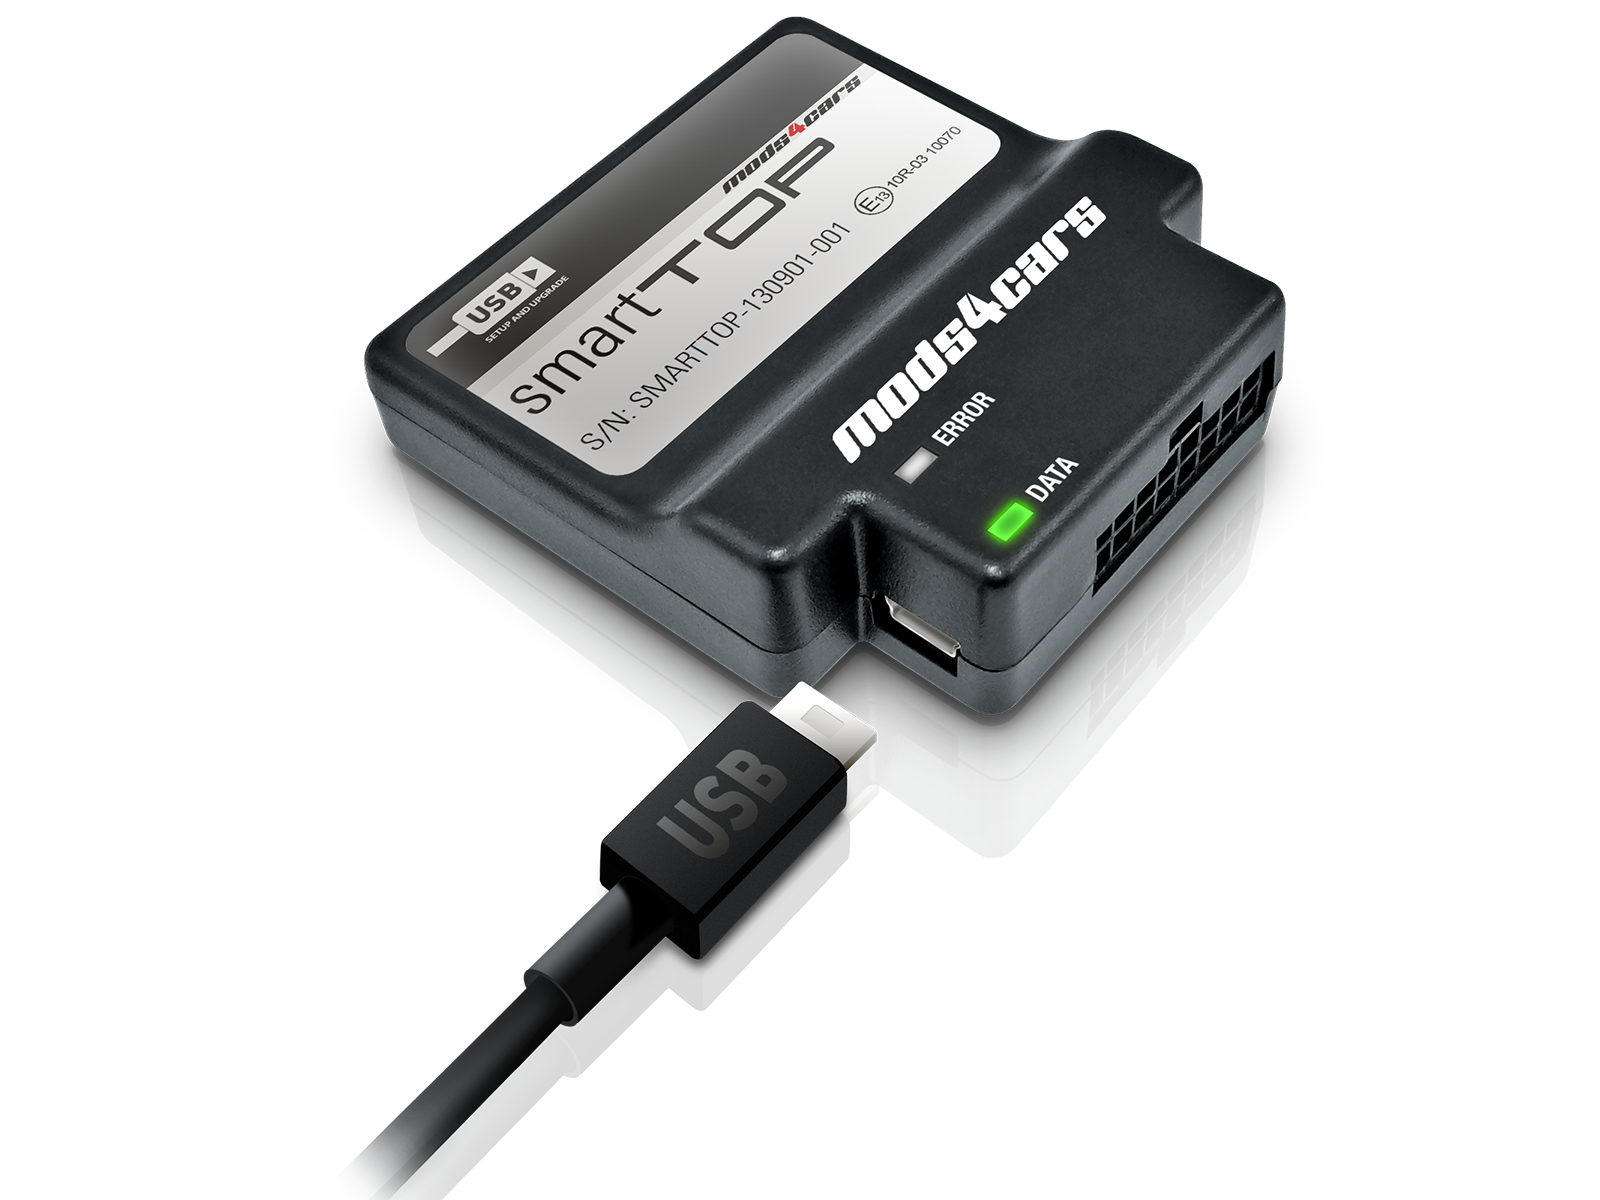
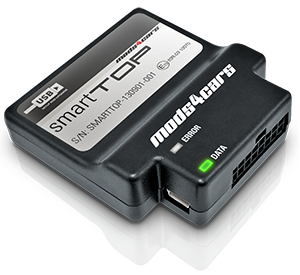
![]() |
OPERATION AND PROGRAMMING |
![]() |
![]() |
STLFMZ1 Comfort Roof Control Module designed for • Mercedes Benz SLK (R170) Firmware v1.20 and up |
Further information and manuals for all products can be found on our web site w w w . m o d s 4 c a r s . c o m |
PLEASE READ THE COMPLETE MANUAL CAREFULLY BEFORE USING THIS PRODUCT. We explicitly point out that all functions of this control unit should be used only while exercising caution and responsibility. We can NOT be held liable for any damage or injury caused by installing or using this product. Operation must be supervised and paid attention to in order to ensure that there are no objects or persons in range of moving parts due to the fact that top mechanics do not have pinch protection. Please study and be aware of the procedures to interrupt an ongoing operation in an emergency. |
Important Information. READ BEFORE USING! | |
---|---|
![]() | PRINTING THIS MANUAL This manual is designed to produce completely filled pages. In order to get best print results, simply set the borders to minimum settings in the browser's page setup menu and disable headers and footers. Activate the print preview and if necessary decrease the zoom level until all pages are shown correctly. ALL IMAGES CAN BE CLICKED FOR FULL SIZE in the browser. |
![]() | TROUBLE SHOOTING - NEED TO CONTACT US? If you run into any problems after installing the module, please go over the manual again in great detail, clicking every photo for full size! We now have a full Knowledge Base with Support Ticket system available online at www.mods4cars.com/support If you need to contact us, the best and fastest way to do so is by opening a support ticket there |
![]() | This module comes with our USB Field Upgrade and Configuration Port! We recommend connecting it to a computer BEFORE YOU INSTALL and using our support app "m4cconnect" to do a quick firmware update check. M4cconnect as well as all other information regarding USB update and configuration can be found at www.mods4cars.com/usb. You can even configure and activate your favorite module functions and settings on screen before the module is installed in the car! It is a good idea to permanently install the USB cable with the module in the car, leaving the computer plug in an easily accessible spot for later use with a Wifi/3G/4G connected laptop. |
Detailed function description (Factory setting underlined) |
---|
Function 1 - MODULE MODE + MASTER SWITCH ( 0=OFF / 1=ON / 2=DELAY ) |
---|
The module can quickly and easily be enabled and disabled using this function. It acts like a master switch. When disabled, the module becomes completely inactive and behaves as if it was not installed while keeping all other function settings intact for when it is re-enabled later. • Setting 1 activates the module. • Setting 2 is like setting 1 but additionally the radio and windows will continue to work for about 3 min after the ignition is turned off (and before any door is opened). EXTREMELY IMPORTANT: In order to avoid problems with diagnostic tools and to avoid confusion or risk of injury by unexpected top movement, we urge you to ALWAYS DISABLE the module before taking the car in for routine maintenance or lending it to a third person! In case of any top malfunction NEVER take the car with the module still installed to an unsuspecting dealer! In such cases ALWAYS contact Mods4Cars for support first at www.mods4cars.com or completely uninstall the module before a dealer visit. |
Function 2 - Console Switch One-Touch ( 0=OFF / 1=ON WU / 2=ON WD / 3=EXT WU / 4=EXT WD ) |
---|
This function enables one-touch console switch operation, for which the window position after top open as well as an optional extended convenience mode can be programmed. • Setting 1 is standard one-touch mode with windows up (WU) after top open. • Setting 2 is standard one-touch mode with windows down (WD) after top open. • Settings 3 and 4 (extended) are the same as 1 and 2, but additionally it is possible to turn off the ignition and pull the key while the top still continues. Settings 3 and 4 require extra responsibility and caution to avoid injury by moving top parts to passengers not expecting the top to continue running after the engine is turned off! Top operation with the console switch: • Holding down the switch (>2 sec) in either direction will operate the top in manual mode for as long as the switch is held. • Tap OPEN once to open the top and bring the windows into the selected position (WU=Windows Up, WD=Windows Down). • Tap OPEN twice slowly to open the top and bring the windows into the opposite position this one time (Down on settings 1 and 3, Up on settings 2 and 4). • Tap OPEN twice quickly to open the windows. • Tap CLOSE once to close top and windows. • Tap CLOSE twice slowly to close only the top and leave the windows open. • Tap CLOSE twice quickly to close the windows. • Tap the console switch in any direction to interrupt an ongoing operation at any time - even if the top was started by remote! Comfort close for all windows: • Tap the top close switch when the top is already closed to roll all windows up. |
Function 3 - Remote Top ( 0=OFF / 1=ON WU / 2=ON WD / 3=EXT WU / 4=EXT WD ) |
---|
This function allows full automatic top operation with the original remote fob by pressing the lock and unlock buttons. Also here it is possible to determine (independently from operation via the center console switch) the position of the windows after opening the top. • Setting 1 is standard remote mode with windows up (WU) after top open. • Setting 2 is standard remote mode with windows down (WD) after top open. • Settings 3 and 4 (extended) are the same as 1 and 2, only that it is possible to turn the ignition on and start the engine while the top still continues. Additionally getting out of the car and locking the doors by remote will not interrupt an ongoing top operation. Settings 3 and 4 require extra responsibility and caution to avoid injury by moving top parts, as locking the (previously unlocked) doors with the remote will not stop the top! Top operation with the remote fob: • Tap UNLOCK on the remote 2x (in 1 sec intervals) to open all windows. • Tap UNLOCK on the remote 3x (in 1 sec intervals) to open the top and bring the windows into the selected position (WU=Windows Up, WD=Windows Down). • Tap UNLOCK on the remote 4x (in 1 sec intervals) to open the top and bring the windows into the opposite position this one time (Down on settings 1 and 3, Up on settings 2 and 4). • Tap LOCK on the remote 2x (in 1 sec intervals) to close all windows. • Tap LOCK on the remote 3x (in 1 sec intervals) to close top and windows. • Tap any direction to stop an ongoing operation. To stop the top in extended mode in any door lock state, tap the same direction twice! IMPORTANT: If sequential unlocking is active (first click unlocks only the driver's door), then one extra click is required. (1x = unlock driver's door, 2x = unlock all doors, 3x = open windows... etc.) |
Function 4 - Maximum Speed ( 0=0 km/h / 1=10 km/h / 2=20 km/h / 3=30 km/h / 4=40 km/h / 5=50 km/h / 6=60 km/h ) |
---|
This function determines the desired speed limit for top operation via console switch. • Setting 0 only allows roof operation while halted. • Setting 1 and up increase the speed for top operation in steps of 10km/h (~7mph). We recommend to keep the speed as low as possible and only operate the top on even and smooth street surfaces! Once the top is started within the programmed speed limit, it will continue running, even if the speed later exceeds the limit during the top operation! |
Function 5 - Chirps ( 0=OFF / 1=ON ) |
---|
This function activates a brief signal when locking using the alarm siren. • Setting 1 activates a chirp signal when locking. IMPORTANT: This function only works on cars with alarm siren and red "panic" button on the remote! For technical reasons the chirp signal feature can not be guaranteed on all models. |
Function 6 - Chirp Length ( 0=0 / 1=1 / 2=2 / 3=3 / 4=4 ) |
---|
This function allows for calibration of the horn signals. Sometimes it is possible that the factory setting is just a bit too short to properly activate the horn. In such cases the trigger time can be increased with this function. |
Function/Setting Matrix (green fields are defaults) | |||||||
---|---|---|---|---|---|---|---|
Product: STLFMZ1 - SmartTOP for Mercedes Benz SLK (R170) Firmware: v1.20 and up | |||||||
![]() | SETTING 0 | SETTING 1 | SETTING 2 | SETTING 3 | SETTING 4 | SETTING 5 | SETTING 6 |
Function 1 | OFF | ON | DELAY | ||||
MODULE MODE + MASTER SWITCH | Module Disabled | Module Enabled | Power Delay | ||||
Function 2 | OFF | ON WU | ON WD | EXT WU | EXT WD | ||
Console Switch One-Touch | Factory behavior | Normal Windows Up | Normal Windows Down | Extended Windows Up | Extended Windows Down | ||
Function 3 | OFF | ON WU | ON WD | EXT WU | EXT WD | ||
Remote Top | No remote functions | Normal Windows Up | Normal Windows Down | Extended Windows Up | Extended Windows Down | ||
Function 4 | 0 km/h | 10 km/h | 20 km/h | 30 km/h | 40 km/h | 50 km/h | 60 km/h |
Maximum Speed | Only while halted | 10 km/h (~7mph) | 20 km/h (~13mph) | 30 km/h (~19mph) | 40 km/h (~25mph) | 50 km/h (~32mph) | 60 km/h (~38mph) |
Function 5 | OFF | ON | |||||
Chirps | No Chirps | Chirp on Lock | |||||
Function 6 | 0 | 1 | 2 | 3 | 4 | ||
Chirp Length | Shortest | Shorter | Medium | Longer | Longest |